Leaks in any part of your house can be a pain to live with. First of all, the sound of water dripping can be incredibly annoying to listen to, especially when thinking about how to repair any damage caused by water leakage on the property. If there is a tap leaking water in your home, you can easily try to fix the problem on your own by following these quick and easy do-it-yourself processes.
There are many reasons why your tap could be leaking, given that a leak can point to different parts of your plumbing areas that are of poor quality. It is often advised that you shouldn’t come up with plumbing solutions by yourself. However, with this guide, you can attempt to fix normal, common, and basic plumbing and tap issues. If you successfully identify the source and the right reason for the leak, you can save yourself a good amount of labour costs as no professional services will be required; the problem will be fixed and you will gain some knowledge.
Outlined below are some suggestions that can help you become more aware of the plumbing/leaking situation in your home:
What causes a leaking tap?
Understanding the cause of your plumbing problems can help you repair a leaking tap: Your tap can start leaking because of various reasons, some of which include:
- The valve seating has been damaged or it has corroded
- The tap washer is installed incorrectly
- The jumper valve is worn out
- The tap washer’s size is incorrect
- The tap fixed on the washer is either too old or has worn out
- The O-ring has become loose or worn out.
Identifying & Fixing The Issue
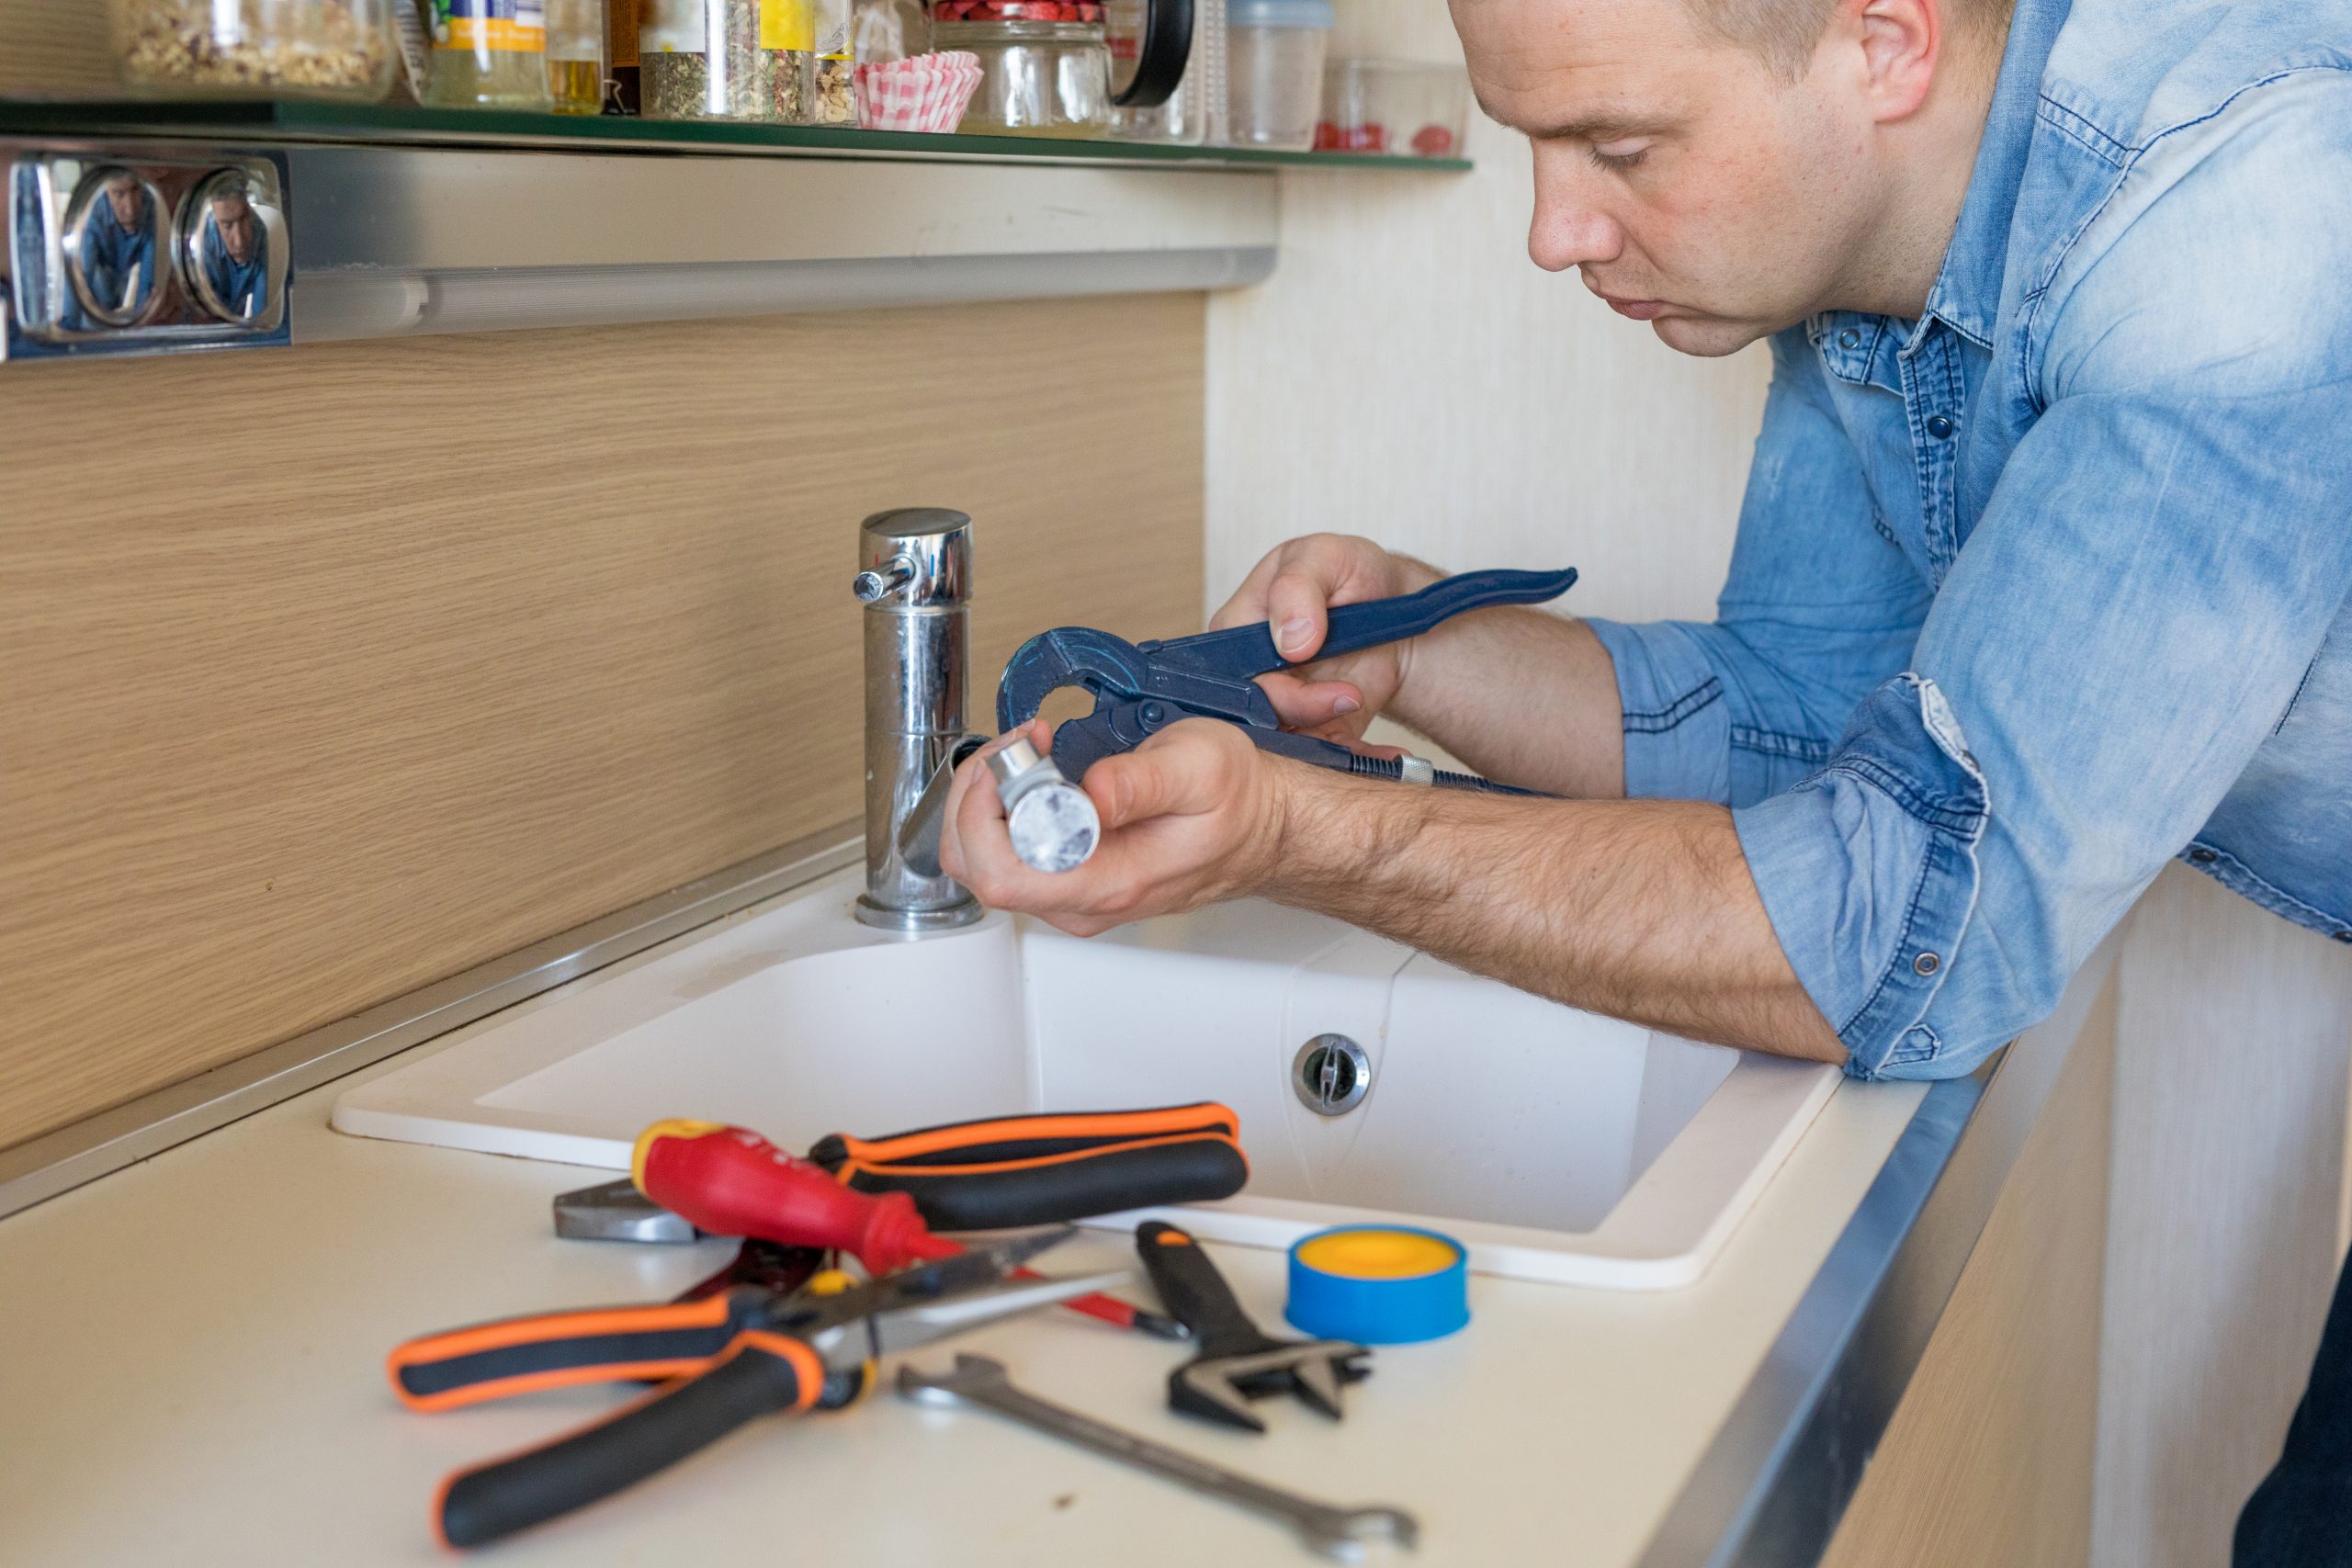
The tools you will need for these steps are:
- Pliers
- Tweezers
- Spanner
- Flathead Screwdriver
Step 1: Turn off the main water supply.
This will most likely be located in the laundry, bathroom, or front yard.
Step 2: Turn on the tap.
This will help in getting rid of any residual water that might come in the way.
Step 3: Plug the sink.
You do not want to lose any parts or components of your tap since these are vital and can send you to a store where you will end up spending more money. Once the lost items are down in the drain, finding new ones will be extremely difficult. Also, you may face blocked drain issues. This is why plugging the sink is necessary.
Step 4: Remove the tap button, handle, skirt and bonnet
Start with this step by using a screwdriver to help open and expose the insides of the tap. Once you do this, you will have a better understanding of the tap that you have. These tap skirts are mostly made of metal and removing it may require unscrewing it further. Remove the sealant with a pair of pliers once the skirt is off. Make sure that you do not scratch or damage any part of the tap. Use a spanner for the bonnet.
Step 5: Remove the washer and jumper valve
Once all the outer pieces have been removed, removing the washer and jumper valve will be much easier. You can remove both with the help of a pair of tweezers.
Step 6: Replacing the washer and jumper valve
Go to a hardware store with your washer and jumper and find replacements. You can also pick up some more silicone sealant.
Step 7: Reassemble
Now, put the washer and jumper back inside, making sure that all the parts you removed have been put in the same order. In the end, use a spanner to tighten everything and use the sealant as the final step.
Step 8: Turn the water back on
Turn the water back on and see if the leakage persists. If it isn’t, congratulations; you have successfully learned how to fix a leaking tap.
You May Also Like to Read:- 8 Things To Consider When Choosing A Plumber
Do I need a plumber to fix a leaking tap?
If you have performed all of the above-mentioned steps and it still has not worked, chances are that the root of this problem is complex and only a professional plumber can help you fix this leaking tap. Simply reach out to us at Drain Surgeon and our experts will make sure your problem is fixed ASAP. For more suggestions or guidance on how to stop/repair a leaking tap, call us at 04 3700 0257 or send us an email at thedrainsurgeonperth@gmail.com.


